Brown Butter Spring Clean Cookies: The Ultimate Kitchen-Clearout Treat
Published on June 24th, 2026

Intermediate

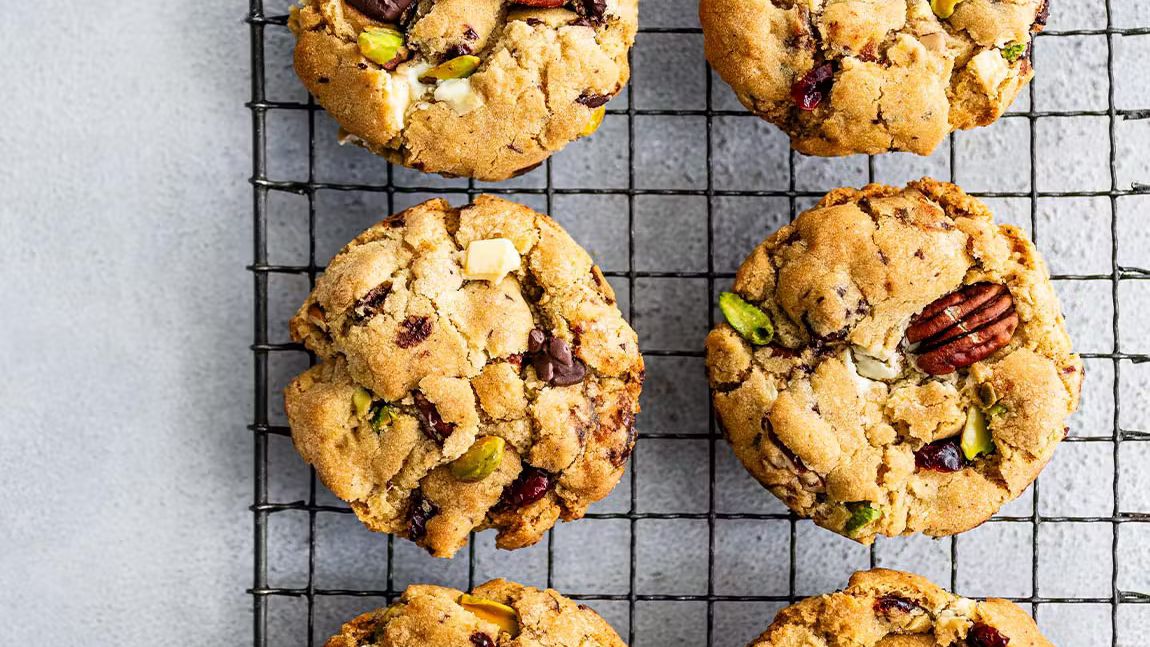
We have all been there: peering into the depths of the kitchen pantry only to discover a collection of half-empty packets. A handful of stray dark chocolate chunks, a scatter of dried cranberries from a previous recipe, and a few lonely pistachios or oats. It is easy to view these remnants as clutter, but with this spectacular cookie recipe, those forgotten ingredients are transformed into absolute gold.
These are not your average chocolate chip biscuits. Infused with the irresistible, caramel-like richness of browned butter, these cookies possess a depth of flavour that far surpasses their humble origins. They represent the perfect balance of crispy edges, chewy centres, and an endless array of textures, courtesy of whatever sweet or crunchy additions you happen to have on hand. Whether you are baking for a weekend treat or simply clearing your kitchen cupboards, these rustic bakes offer a comforting, customisable solution. They prove that sometimes, the most magnificent creations come from the simplest acts of resourcefulness in the heart of the home.
Why You'll Love This Recipe
Rich Depth of Flavour: Browning the butter beforehand caramelises the milk solids, delivering an incredibly deep, nutty, and butterscotch-like undertone.
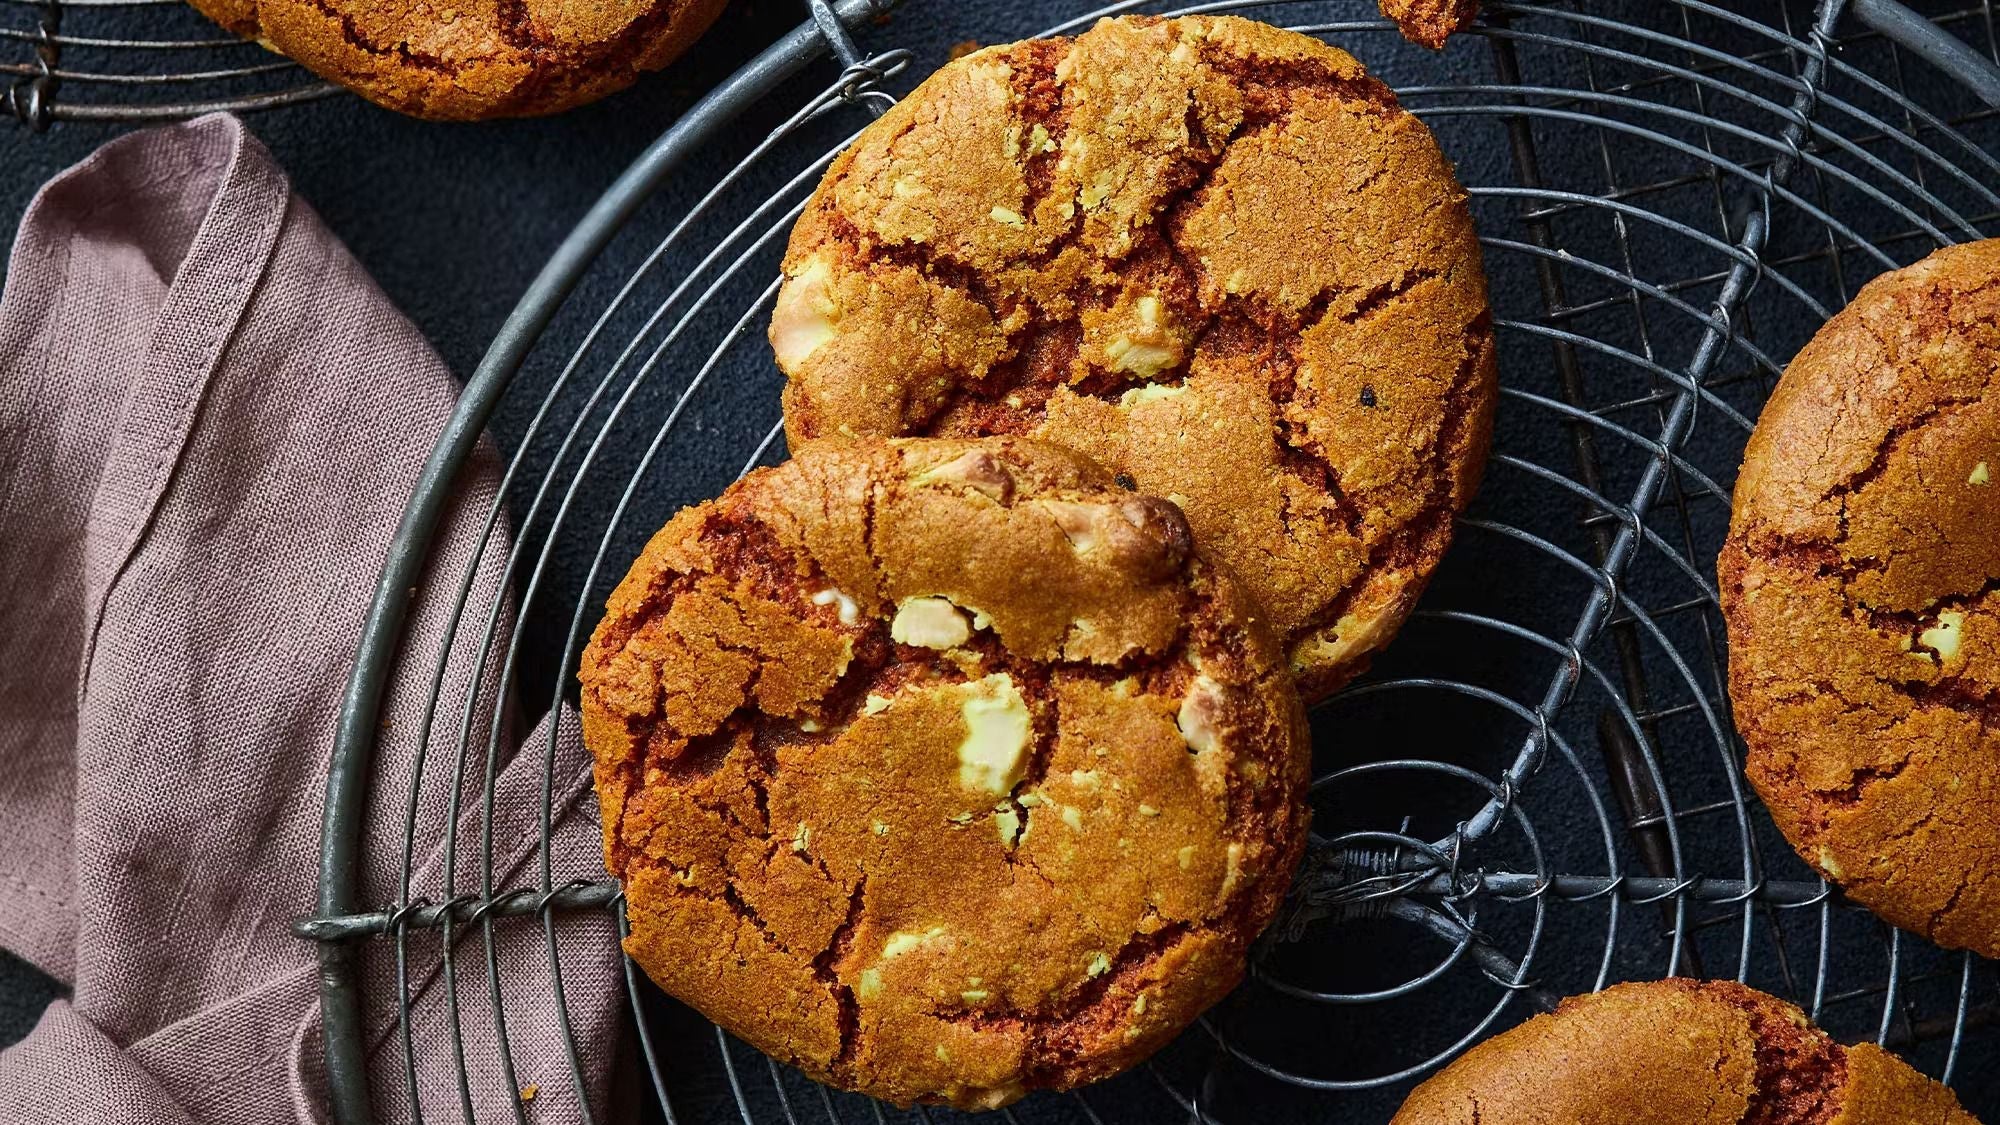
Perfect Textural Balance: Thanks to a touch of double cream and a proper chilling stage, you will achieve crispy margins with exceptionally soft, fudgy centres.
Infinitely Adaptable: This recipe is designed as a kitchen "spring clean". Mix and match any leftover nuts, seeds, dried fruits, or chocolate.
Simple to Bake: Though an electric mixer makes quick work of incorporating the ingredients, this recipe is remarkably straightforward and rewarding for any home cook.
Ingredients
- 150g unsalted butter
- 150g light brown soft sugar
- 100g caster sugar
- 1 tbsp double cream (or single cream or milk)
- 1 Waitrose British Blacktail medium Eggs
- 256g plain flour
- 1 tsp baking powder
- ½ tsp bicarbonate of soda
- ¾ tsp sea salt flakes
- 100g chocolate (dark, milk, white or a mix), roughly chopped
- 50g seeds, oats or nuts (such as pistachios, sesame seeds, pecans), roughly chopped
- 50g dried fruit (such as dates, cranberries, sultanas)
Instructions
- Melt the unsalted butter in a small saucepan over medium-high heat, swirling occasionally. Keep a close eye on the pan; as the water evaporates, the milk solids will settle and begin to caramelise. As soon as you see golden flecks and catch a warm, nutty aroma, transfer the liquid into a large mixing bowl. Let it cool for 20 minutes.
- Add both sugars and the double cream to the cooled butter. Beat with an electric hand mixer for about 2 minutes until smooth. Next, add the egg and beat for another 2 minutes until pale and thoroughly combined.
- In a separate bowl, whisk together the plain flour, baking powder, bicarbonate of soda, and sea salt flakes. Fold this mixture into the wet ingredients until just combined.
- Gently fold in your chopped chocolate, seeds, oats, or nuts, and dried fruit. The dough might look slightly dry, but it will hydrate as it rests.
- Line a tray with baking parchment and scoop balls of dough (roughly 65g each) onto it. Chill in the fridge for at least 2 hours or overnight.
- Preheat your oven to 180 °C (gas mark 4). Arrange the chilled dough balls on lined trays, leaving ample space between them. Bake for 12--15 minutes, rotating the trays halfway through, until the edges are set, but the centres remain soft.
- Leave the cookies on the hot trays for 10 minutes to firm up, then transfer them to a wire rack.
Serving Suggestions
These decadent cookies are sensational served warm while the chocolate chunks are still beautifully gooey. They pair exquisitely with a cup of breakfast tea or a freshly brewed filter coffee. For an indulgent dessert, serve a warm cookie topped with a generous scoop of vanilla bean ice cream or a drizzle of caramel. They are also highly durable, making them ideal for packing into lunchboxes or biscuit tins for on-the-go snacking.
Frequently Asked Questions
Why is browning the butter so important for this recipe? Browning the butter is the secret to unlocking a complex, caramel-like flavour profile. As you gently heat the unsalted butter, the water content evaporates, allowing the milk solids to toast at the bottom of the pan. This chemical reaction creates a deeply aromatic, nutty base that elevates these cookies from simple sweet bakes to a luxurious, bakery-style experience.
Can I use different ingredients for the fillings? Absolutely! This recipe is incredibly versatile and designed for a kitchen "spring clean." You can substitute the chocolate, nuts, and dried fruit for any shelf-stable ingredients you need to use up. Try chopped fudge, white chocolate, pumpkin seeds, desiccated coconut, or dried apricots. Just ensure you maintain the overall ratio of 100g chocolate and 100g of dry mix-ins.
Why does the cookie dough need to be chilled for 2 hours? Chilling is a critical step that cannot be rushed. It allows the flour to fully hydrate and solidifies the melted, browned butter. This ensures that the cookies do not spread too rapidly or turn flat during baking. Additionally, resting the dough concentration intensifies the delicious sugars and vanilla notes, resulting in a much richer, chewier biscuit.
What should I do if my cookie dough looks too dry before chilling? Do not worry if the raw mixture appears a little crumbly or dry when you fold in your dry ingredients. Because the butter was melted and browned rather than creamed solid, the dough relies on the resting period to absorb the liquids. As it chills in the fridge, the flour will completely hydrate, resulting in a perfectly scoopable consistency.
How should I store these brown butter cookies? To keep your cookies tasting wonderfully fresh, store them in an airtight container at room temperature for up to 4 days. If you want to enjoy them warm with gooey chocolate, simply reheat them in an oven preheated to 150C for 3-5 minutes, or pop them in the microwave for 10 seconds before serving.
Leave a comment